Have you ever watched a helicopter effortlessly hover in the sky and wondered what makes it fly? Making a paper helicopter is a fun and educational DIY project that not only sparks curiosity but also introduces fundamental aerodynamics concepts. This simple craft requires minimal materials and is perfect for enthusiasts of all ages, whether you’re looking to entertain kids, explore engineering principles, or indulge your own creative side.
Each time you watch your paper helicopter spin and glide, you’ll gain insights into how real helicopters maneuver, fostering a deeper appreciation for aviation. Plus, this project can provide a delightful diversion from screen time, encouraging hands-on learning and experimentation. So grab some paper, scissors, and tape, and let’s embark on this exciting journey to create your own miniature flying machine! Your adventure into the world of flight starts now!
How a Paper Helicopter Works: The Science Behind Flight
One of the most fascinating aspects of a paper helicopter is how it mimics the mechanics of real helicopter flight despite being a simple DIY project. At its core, a paper helicopter operates based on the principles of lift, gravity, and drag. When you drop the helicopter from a height, the blades start to spin, creating lift as the air flows around them. This spinning motion is essential; it allows the helicopter to maintain stability and slow its descent.
The design of the paper helicopter is critical in its performance. The blades, which can be thought of as wings, are engineered to cut through the air efficiently. When the helicopter is dropped, the top blade spins forward, while the bottom blade rotates backward, creating a differential lift on either side. This difference generates rotational movement that allows the helicopter to glide gracefully downwards. The angle at which the blades are cut or shaped can influence how quickly or slowly it descends, and experimenting with this angle can lead to improvements in flight time.
To further understand this phenomenon, one can perform a simple experiment by varying the sizes of the blades or using different materials for the helicopter’s body. Not only does this offer insights into aerodynamics, but it also provides a hands-on way for learners, especially children, to grasp complex scientific concepts in a fun and engaging manner. This hands-on nature makes constructing paper helicopters an excellent educational tool, instilling an early interest in physics and engineering.
In summary, constructing and testing a paper helicopter transcends mere craft; it’s a delightful exploration of the fundamental principles of flight. Each unique twist in design potentially enhances the flight experience, making it a captivating endeavor for aspiring aviators and curious minds alike.
Essential Materials You Need for Your Paper Helicopter

To build your own paper helicopter, you don’t need a long shopping list of expensive items. In fact, many of the materials are likely already found around your home, making this not just an engaging DIY project, but also an economical one. The primary goal is to focus on materials that are lightweight and aerodynamic, allowing your helicopter to soar gracefully through the air.
Start with the most essential component, which is paper. Standard printer paper or lightweight cardstock works perfectly for creating the helicopter’s body and blades. If you’re feeling creative, consider repurposing old magazines or colored paper for a splash of personality. The thickness of the paper can impact performance-thinner paper might produce a longer flight due to its lightness, while thicker paper adds stability.
In addition to paper, you will need scissors for cutting, tape or glue for assembly, and a ruler for measuring dimensions accurately. A paper clip can be beneficial as well, serving as a weight to help stabilize your helicopter during flight. Another useful item is a pencil or a straw that can act as the launch mechanism; it allows you to drop the helicopter from a height without directly holding it. Lastly, prepare a space for testing your helicopter, ideally outdoors or in a large room free from obstacles.
By gathering these materials, you’re not just preparing for a fun crafting session; you’re setting the stage for an intriguing exploration into the principles of flight. With minimal investment and creativity, you can construct your own paper helicopter and witness firsthand how different designs and materials affect its performance in the air.
Step-by-Step Guide: Crafting Your Paper Helicopter
Creating your own paper helicopter is not just a fun craft-it’s a fascinating dive into the principles of flight and aerodynamics. With just a few supplies, you can construct a simple yet effective helicopter that will spin gracefully to the ground. Here’s how to make one yourself!
Start by gathering your materials. You’ll need a piece of paper (standard printer paper works best), scissors, a ruler, a pencil, and tape or glue. Optionally, a paper clip can be used to add weight to the helicopter, helping it stabilize in flight.
Next, follow these steps to craft your paper helicopter:
Step 1: Cut the Paper
Cut a rectangular piece of paper measuring about 6 inches long and 2 inches wide. This will form the body of your helicopter. From the longer side, make two cuts about 1.5 inches down from one end, stopping about half an inch from the opposite side. These cuts will create the helicopter’s blades.
Step 2: Shape the Blades
Once your cuts are made, fold the ends of the rectangle outward at a 90-degree angle. This will serve as the rotating helicopter blades. Make sure that the folds are as even as possible, as this will affect the flight.
Step 3: Add Stability
Attach a paper clip to the bottom of the helicopter body by taping or gluing it securely. This added weight will help keep the helicopter stable during its descent, allowing for smoother landings.
Step 4: Ready for Launch
Hold the helicopter by the base (the part without any cuts) and drop it from a height. You can also use a straw or pencil as a launcher, allowing you to release the helicopter from a higher point without interfering with its rotation.
As you observe the helicopter’s flight, take note of how different heights and angles affect its movements. Feel free to experiment with variations-try changing the blade length or adding more weight! Each modification can lead to different results, making this not just a craft but an engaging science experiment.
By following these steps, you’ll not only create an enjoyable paper helicopter but also gain insights into basic aerodynamics, making it an educational experience for all ages. Have fun and watch your helicopter spin!
Creative Designs: Unique Paper Helicopter Variations
Discovering new designs for your paper helicopter can elevate your crafting experience and enhance your understanding of aerodynamics. By experimenting with different shapes, sizes, and materials, you can create helicopters that not only fly differently but also offer unique visual appeal. Here are some creative variations to inspire your next project:
Alternative Blade Designs
Instead of the standard rectangular blades, try experimenting with other shapes. For example, you might create helicopter blades that are wider or more elongated. You can also try cutting the blades into a propeller shape or adding curves to mimic the design of actual helicopter blades. Here’s a quick overview of different blade designs:
- Wide Blades: These can catch more air, potentially increasing lift.
- Curved Blades: Mimicking an actual helicopter’s rotor, these can create a smoother flight experience.
- Multi-Blade Helicopters: Attach additional blades to your design for a more complex helicopter that can discover new hovering capabilities.
Color and Decoration
Adding color and patterns to your paper helicopter can make the project even more engaging, especially for kids. Use markers, colored pencils, or stickers to personalize your helicopter. You can create themes, such as a fire helicopter in red and yellow or a military copter with camo patterns. The aesthetic enhancements not only make the project fun but can also lead to discussions about the real-life paint schemes of helicopters.
Material Variability
Explore how different materials impact flight. Instead of standard printer paper, try using cardstock for a sturdier design or lightweight, textured paper for different effects. This variation could lead to different flight dynamics-some materials may create more drag while others may enhance lift. Even experimenting with materials like lightweight foil can yield interesting results.
Weight Distribution Changes
Another exciting aspect to explore is how weight distribution affects flight. Experiment with adding weights at various points on your helicopter. Try attaching paper clips in different positions on the body or the blades to see how it impacts stability and flight duration. This hands-on approach helps develop a deeper understanding of physics principles like gravity and balance.
Engaging in these creative variations not only makes crafting paper helicopters fun but also fosters a rich learning environment. Each modification allows you to investigate flight mechanics further and encourages an experimental mindset. So grab your materials and let your imagination take flight!
Testing and Tweaking: Improve Your Helicopter’s Flight

Testing your paper helicopter’s flight can be an exciting adventure in physics and engineering. Consider this: small tweaks can turn a simple design into a phenomenal flying machine. The goal is to maximize lift, improve stability, and achieve longer flight times. Begin your testing journey by observing your helicopter’s current performance. Note how long it stays airborne, how stable its descent is, and whether it spins or wobbles excessively. Once you have a baseline, you can use your observations as a guide for making improvements.
Experiment with Blade Design
One effective way to enhance your paper helicopter’s performance is to modify the blade design. Change the length and width of the blades to see how these alterations affect lift and aerodynamics. Wider blades might catch more air and help the helicopter hover for longer periods. Additionally, consider adding a slight angle to the blades; this can help create lift more effectively, mimicking the pitch in real-life helicopters. Remember, even small changes can significantly impact your helicopter’s flight characteristics.
Weight Distribution Matters
Another critical factor in your helicopter’s performance is weight distribution. Experiment by attaching paper clips or small pieces of tape at various points, such as the base of the helicopter or tips of the blades. Adjust the weight as needed; sometimes, a slight increase in payload can stabilize the helicopter and improve its glide. For example, placing weight near the rotor but not too heavy can enhance stability without drawing it down too quickly. This encourages learners to think about gravity’s role and how balance affects airborne crafts.
Flight Environment
Don’t overlook your testing environment, as it can greatly influence results. Conduct test flights indoors where wind is minimal, or try flying in different outdoor conditions to observe variations. Calm conditions will help you evaluate your design without external factors skewing the results. Keeping a record of your helicopter’s performance in different environments will give you insight into how various elements like wind resistance affect flight.
In essence, testing and tweaking your paper helicopter is about curiosity and experimentation. By actively engaging with the design process, you’re not only improving your helicopter but also deepening your understanding of fundamental principles of flight. So make notes, try new things, and don’t be afraid to crash – each crash is just a step closer to crafting the ultimate paper helicopter!
Fun Facts About Helicopters and Paper Models
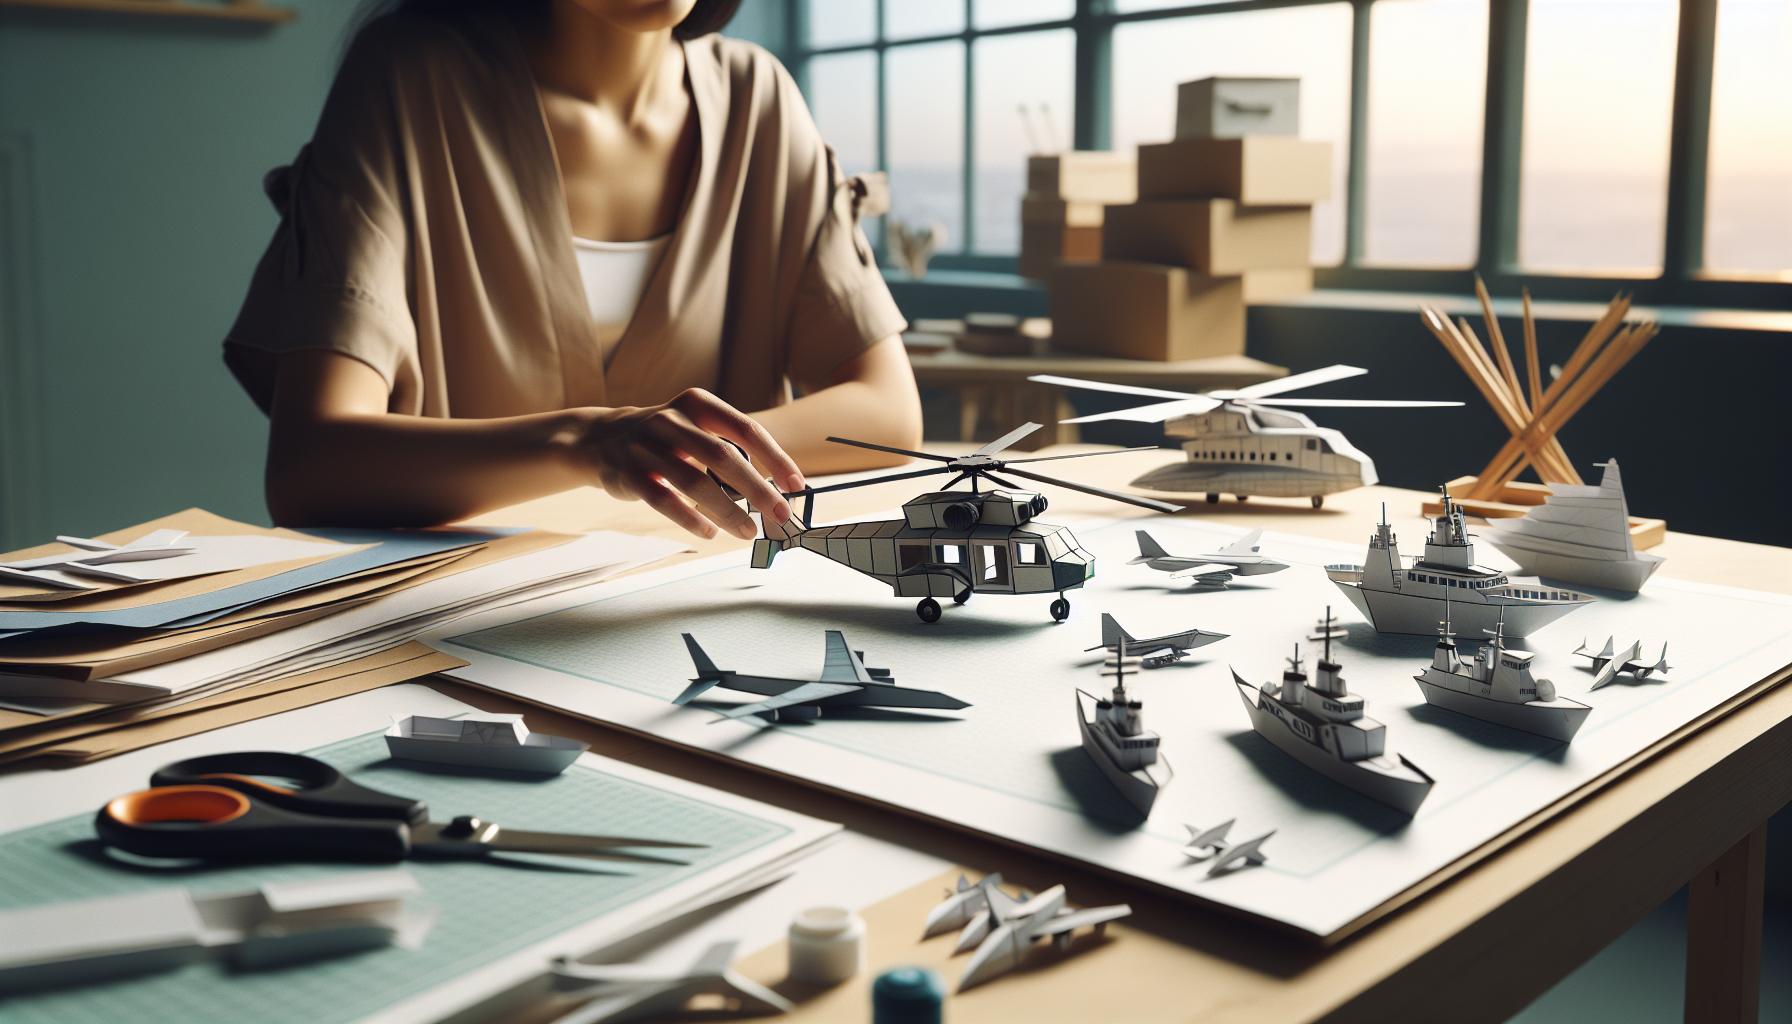
Did you know that the first successful human-carrying helicopter was invented by Paul Cornu in 1907? It was a feat of engineering that paved the way for modern aviation. Helicopters have fascinated people for over a century, not only for their complex mechanics but also for their graceful flight. When it comes to crafting a paper helicopter, this DIY project serves as a playful introduction to the principles of aerodynamics, making it a fun activity for all ages.
Helicopters operate based on principles of lift and thrust, much like your paper models. The rotor blades spin, creating a difference in air pressure above and below the blades, resulting in lift. When you create your own paper helicopter, you’re essentially mimicking these aerodynamic principles. It’s an excellent way to spark an interest in aviation and physics, allowing kids and adults alike to grasp complex concepts through hands-on experimentation.
One exciting aspect of paper helicopters is the versatility of their designs. With just a few sheets of paper, scissors, and tape, you can craft countless variations. Want to challenge yourself? Try adjusting the size of the blades or the body to see how these changes affect flight performance. The joy of paper helicopters lies not only in their simplicity but also in the endless possibilities for creativity and innovation.
In popular culture, helicopters have made their mark through movies and TV shows, often depicted as daring rescue vehicles or sleek military machines. This allure extends to paper models, which can serve as a powerful educational tool. They can transform a simple afternoon into an engaging lesson in science and art, teaching critical thinking skills and encouraging an inventive spirit. So, gather your materials, unleash your creativity, and take to the skies with your paper helicopter!
Explore More DIY Projects: Expand Your Crafting Skills
Creating your own paper helicopter can be a launching pad into a world of further DIY projects that blend creativity with learning. Once you’ve mastered this simple yet fascinating craft, why not dive deeper into other engaging activities that expand your crafting skills? Whether you’re a beginner or looking to challenge yourself, there are plenty of exciting projects to explore that teach principles of design and physics while having fun.
Simple Engineering Projects
Tackle straightforward engineering projects like paper rockets or straw airplanes. These crafts use similar principles of aerodynamics and allow for experimentation with design and propulsion. You can make a paper rocket by rolling paper into a cone shape and attaching fins made from lightweight materials. Challenge yourself to see how high you can launch it or how far it can fly. This builds on your understanding of flight dynamics while keeping the crafting engaging.
Creative Upcycling Ideas
Explore other creative DIY projects that involve upcycling materials. For instance, taking old magazines and turning them into unique models-think paper flowers or mini sculptures. Not only does this foster creativity, but it also teaches valuable lessons about sustainability and transforming everyday items into new creations. Using your scissors and glue in innovative ways can lead to artistic projects that make a statement while being eco-friendly.
Hands-On Robotics Kits
For those interested in more technical challenges, consider integrating your love for flight with robotics. Kits that allow you to build flying drones or simple robotics can be a fascinating next step. These projects require a slightly higher level of knowledge about electronics but provide a fantastic opportunity to see real-life applications of the physics you learned with your paper helicopter. Learning to program and control a small flying robot can ignite a passion for technology and engineering in young minds.
Join a Community of Makers
Connecting with a community of fellow DIY enthusiasts can open up a whole new world of ideas and inspiration. Consider joining local maker fairs or online forums where you can share your creations and get feedback. Collaborating with others will not only enhance your skills but also encourage you to tackle new projects that you might not try alone. Sharing your successes, failures, and what you’ve learned along the way enriches the crafting experience.
By embarking on these projects, you’re not just crafting; you’re exploring the realms of science, creativity, and technology. Embrace the DIY spirit, and let your paper helicopter be the first step toward a fulfilling journey in crafting and learning!
Educational Benefits: What Kids Learn from Paper Helicopters
Creating a paper helicopter might seem like just a fun craft, but it offers a remarkable range of educational benefits for children. Engaging in this simple project opens doors to vital concepts in physics, engineering, and creativity. As kids design, build, and test their helicopters, they not only grasp the fundamental principles of flight but also learn to think critically and solve problems.
One of the most significant lessons is the understanding of aerodynamics. Children explore concepts such as lift, gravity, and drag as they see their helicopters soar through the air. By experimenting with different designs, they can observe how altering the size of the rotor blades or the weight of the body affects flight performance. This hands-on approach reinforces theoretical lessons learned in the classroom, making the science behind flight more tangible and exciting.
Moreover, crafting paper helicopters encourages creativity and design thinking. Kids are inspired to customize their helicopters, experimenting with materials, shapes, and colors. This process fosters innovation as they learn that trial and error is a part of any engineering project. They also develop fine motor skills through cutting, folding, and constructing their models, enhancing their ability to manipulate materials and think spatially.
In a supportive environment, paper helicopter projects can facilitate collaborative learning. Children can work in teams to build and enhance their designs, promoting teamwork and communication. They learn to share ideas, give constructive feedback, and collectively troubleshoot design issues. These social skills are as essential as the technical ones, preparing them for future collaborative projects in school and beyond.
Lastly, the experience of testing and tweaking helicopter designs cultivates a mindset of resilience and persistence. When facing challenges-like a helicopter that doesn’t fly as expected-children learn to adjust their strategies, reinforcing the idea that failure is often a stepping stone to success. This not only builds confidence in their abilities but also teaches them valuable life skills applicable well beyond the DIY crafting world.
Through the engaging activity of making paper helicopters, kids gain more than just a fun project; they acquire crucial education that lays the groundwork for future exploration in science, technology, engineering, and math (STEM) fields.
Engaging Activities: Paper Helicopter Competitions
Imagine a room buzzing with excitement as children eagerly await the results of their paper helicopter competitions. These events not only provide thrills but also serve as engaging educational experiences, enhancing learning through play. Paper helicopter competitions can be organized in various settings-classrooms, community centers, or outdoor play areas, making them versatile for all ages.
In these competitions, participants can showcase their creativity and engineering skills as they design and build their helicopters. Set clear objectives such as who can create the longest flight time or the lowest descent speed. Encourage participants to experiment with different materials, helicopter shapes, and rotor sizes before the competition starts. This hands-on approach stimulates critical thinking and invites constructive experimentation.
Tips for Successful Competitions:
- Establish Categories: Create different competition categories based on skill levels or design criteria, such as ‘Most Creative,’ ‘Best Use of Materials,’ or ‘Longest Flight.’ This inclusivity allows every participant to shine.
- Provide Resources: Offer templates, instructional videos, or reference materials about aerodynamics. Children can use these to improve their designs, understanding flight mechanics as they create.
- Encourage Teamwork: Allow participants to form teams, fostering collaboration. Teams can brainstorm, share ideas, and troubleshoot together, reinforcing social skills and teamwork dynamics.
- Document Results: Keep a leaderboard or record the performances. Not only does this add a competitive edge, but it also provides data for participants to analyze and improve their designs in future competitions.
Finally, celebrate everyone’s efforts with certificates or small prizes. This recognition helps boost confidence and encourages participants to explore further in STEM fields. Overall, paper helicopter competitions offer a fun way to blend creativity with scientific principles, engaging young minds and sparking a passion for aviation and engineering.
Troubleshooting Tips: Fix Common Paper Helicopter Issues
When crafting a paper helicopter, it’s exciting to see your creation take flight, but sometimes things don’t go as planned. If your helicopter isn’t flying as expected, don’t worry! Here are some common issues you might encounter along with helpful solutions to troubleshoot and enhance your paper helicopter experience.
One frequent problem is unstable flight, where the helicopter spins or tumbles instead of gliding smoothly. This can often be corrected by ensuring your rotor blades are balanced. Check to see if both blades are equal in length and width; even slight discrepancies can affect the balance and cause erratic movement. You can also adjust the angle of the rotor blades by bending them slightly upward. A small upward angle can increase lift and lead to a more stable descent.
Another common issue is a short flight duration. This is typically due to the weight of your helicopter. If you’ve used heavier paper or additional materials, consider switching to lighter paper or trimming down excess weight. Additionally, ensure that the rotor blades are not too heavy or thick; they should be light enough to catch the air efficiently. Experiment with different sizes and types of paper to discover what works best for optimal flight time.
Sometimes, helicopters may stick to the ground and not lift off at all. If this happens, it’s likely that the rotor blades aren’t catching enough air. Make sure to check that the blades can rotate freely at the top of your helicopter. Ensure there’s enough space for the blades to spin without obstruction. If you’re still having trouble, try giving a little spin or flick to the blades when you release your helicopter; sometimes a little push can make a big difference.
In case of damage, such as torn or crumpled parts, remember that these elements can drastically affect performance as well. Having extra printed templates or cutouts can be handy for quick replacements. Keeping a small repair kit-including tape or glue-close by can help you make repairs during testing sessions without needing to start from scratch.
By identifying and addressing these common issues, you’ll not only enhance your helicopter’s performance but also deepen your understanding of the principles of flight. Enjoy the process of experimentation, as each test flight is an opportunity to learn more about aerodynamics and design. Happy flying!
Safety in Crafting: Best Practices for Kids
Crafting a paper helicopter can be an exhilarating experience, especially for kids eager to explore the principles of flight and design. However, it’s essential to prioritize safety during this DIY adventure to ensure a fun and worry-free environment. Here are some best practices to keep in mind while crafting paper helicopters.
First and foremost, always supervise younger children during crafting sessions. Sharp scissors, small materials, and potentially sticky adhesives can pose risks. Setting a rule that only adults can handle scissors can help prevent accidental cuts. Additionally, provide a safe crafting space that is free from clutter and distractions, allowing kids to focus on their project without the risk of tripping or spilling hazardous materials.
Another crucial aspect of safe crafting is the selection of materials. Opt for non-toxic, kid-friendly supplies. For instance, using child-safe glue instead of hot glue can minimize burns and chemical exposure. If you’re using tape, choose varieties that are easy to manipulate and remove. When it comes to paper, lightweight sheets are preferable, reducing the risk of paper cuts and making handling easier for smaller hands.
Encourage kids to maintain cleanliness while working. Have a designated area for any leftover scraps and a nearby trash bin for waste. This not only keeps the workspace tidy but also prevents any choking hazards associated with small bits of paper and other crafting materials.
Lastly, foster a positive atmosphere by turning any crafting mishaps into learning opportunities. If a helicopter crashes or fails to fly, guide children to troubleshoot the issue without frustration. This approach cultivates resilience, encourages problem-solving skills, and enhances their understanding of physics in a playful manner. By creating a safe and supportive crafting environment, children can enjoy not just the thrill of their paper helicopter creations but also the joy of learning through hands-on experience.
Share Your Creations: Join the Paper Helicopter Community
Envision the delight in watching your paper helicopters soar through the air, each one a testament to your creativity and understanding of flight principles. Sharing your creations connects you with a vibrant community of fellow enthusiasts who are equally passionate about this fun DIY project. Whether you’re a novice pilot or an experienced crafter, you can benefit from the collective wisdom and creativity found within this community.
One excellent way to showcase your paper helicopters is through social media platforms or dedicated crafting forums. Upload images or videos of your designs in action, demonstrating different flight techniques or unique variations. Engaging in discussions about your creations not only allows you to receive constructive feedback but also opens doors for collaboration on new ideas and designs. Joining specific groups focused on paper engineering or DIY projects can significantly enhance your experience, providing inspiration and motivation as you interact with others who share your interests.
Consider organizing local gatherings or competitions where participants can test their helicopters in friendly challenges. These events are perfect opportunities to learn from each other, from basic construction techniques to advanced aerodynamic adjustments that can improve performance. If you are especially passionate about teaching, creating workshops for kids can ignite their curiosity in physics and craftsmanship while fostering a sense of community among young creators.
As you engage with this community, remember to celebrate each success, no matter how small. Every flight is a chance to learn something new, and every crash offers a valuable lesson in design and engineering. Embrace these moments, and encourage others to do the same. The joy of crafting paper helicopters lies not just in the final product but in the creative journey you undertake together. Happy flying!
FAQ
Q: What is a paper helicopter and how does it work?
A: A paper helicopter is a simple DIY toy that demonstrates the principles of flight and aerodynamics. It works by creating lift through its blades, which rotate as it falls. The helicopter’s design allows air to pass over the blades, slowing its descent through drag, making it an engaging educational tool.
Q: What materials do I need to make a paper helicopter?
A: To make a paper helicopter, you will need a piece of paper, scissors, a ruler, and a paper clip. These basic materials allow for easy crafting and testing of the helicopter. Explore the section on ‘Essential Materials’ for more detailed guidance on each component.
Q: How can I improve the flight distance of my paper helicopter?
A: Improving the flight distance of your paper helicopter can be achieved by adjusting its weight and blade design. Adding a paper clip for weight or altering the blade length can enhance stability and aerodynamics. Refer to the ‘Testing and Tweaking’ section for tips on making effective adjustments.
Q: Can I customize my paper helicopter design?
A: Yes, customizing your paper helicopter is easy and fun! You can create unique designs by changing the blade shapes, adding colors, or modifying the body. Check out the ‘Creative Designs’ section for inspiration on variations you can try with your paper helicopter.
Q: What is the science behind a paper helicopter’s flight?
A: The science behind a paper helicopter’s flight involves the concepts of lift, gravity, and drag. As it descends, the blades catch air and create lift while gravity pulls it down. Understanding these principles enhances the learning experience; for more details, explore the ‘How a Paper Helicopter Works’ section.
Q: What are some common mistakes when making a paper helicopter?
A: Common mistakes include not cutting the blades evenly, using too much or too little weight, or failing to balance the helicopter properly. These issues can all affect flight performance. For troubleshooting tips, see the ‘Troubleshooting Tips’ section to find effective solutions.
Q: How can paper helicopters be used for educational purposes?
A: Paper helicopters provide a hands-on way to teach concepts of physics, engineering, and aerodynamics. They engage students in problem-solving and critical thinking as they experiment with designs. Explore the ‘Educational Benefits’ section for more ways to incorporate this project into learning activities.
Q: Are there any competitions for paper helicopter designs?
A: Yes, many schools and organizations hold competitions for paper helicopters, focusing on flight distance, time aloft, and creativity in design. Participating in these can enhance skills and foster a sense of community. For ideas on competitions, check the ‘Engaging Activities’ section.
Key Takeaways
Now that you’ve seen how easy and fun it is to make a paper helicopter, why not give it a try yourself? Remember, this simple DIY project is a fantastic way to explore the science of flight while having a great time! If you enjoyed this project, check out our guide on “10 Cool Paper Airplane Designs” and discover more creative and educational activities that are just a click away.
Don’t forget to share your paper helicopter creations with us in the comments below! We’d love to see how high yours can fly. For more exciting DIY projects and aviation fun, subscribe to our newsletter to stay updated on all our latest content. Your journey into the world of flight is just beginning-so keep exploring, experimenting, and enjoying every moment!
Get our latest guides, news, and insights highlighted in your Google Search & AI Overviews.