
Have you ever watched a rubber band helicopter twirl and soar, capturing the imagination of young and old alike? These simple yet captivating toys not only bring joy but also introduce essential concepts of physics, such as potential energy and aerodynamics. In this fun guide, we’ll explore how to launch your very own rubber band helicopter, offering step-by-step instructions and tips for maximizing your flights. Whether you’re a teacher looking for a hands-on science project or a parent eager to engage your child’s curiosity, this activity checks all the boxes. Let’s embark on this exciting journey to discover how to harness the power of rubber bands and the principles of flight, ensuring hours of enjoyment and learning for everyone involved. Get ready to unleash your creativity and watch your rubber band helicopter take to the skies!
How Rubber Band Helicopters Work: The Science Behind Flight
Rubber band helicopters operate on principles of physics that make them not only fascinating but also an effective way to understand flight mechanics. At the heart of this toy lies the concept of elastic potential energy. When a rubber band is twisted, it stores energy that is later transformed into kinetic energy, which propels the helicopter upwards as the rubber band unwinds. This dynamic is similar to how real helicopters utilize rotor blades and lift to soar.
The design of rubber band helicopters is specifically engineered to optimize their performance. The propeller plays a crucial role; as it rotates, the shape and angle of the blades generate lift, a critical aspect of the flight. According to Newton’s third law, for every action, there is an equal and opposite reaction. In the context of rubber band helicopters, the action of the rotating blades pushing downwards generates an upwards thrust, allowing the helicopter to ascend. The amount of lift produced depends significantly on the angle of the propeller and the speed at which the rubber band unwinds.
To maximize flight duration and height, several factors must be considered. Adjusting the rubber band’s tension is vital, as both too little and too much tension can negatively impact performance. Additionally, the weight distribution of the helicopter must be carefully balanced; a well-placed center of mass ensures stability during flight.
By understanding these principles, aspiring helicopter enthusiasts can experiment with different designs and configurations, encountering firsthand the principles of aerodynamics in action. From adjusting rotor sizes to experimenting with various materials, each modification presents an opportunity for learning about the complex interplay between force, motion, and aerial dynamics.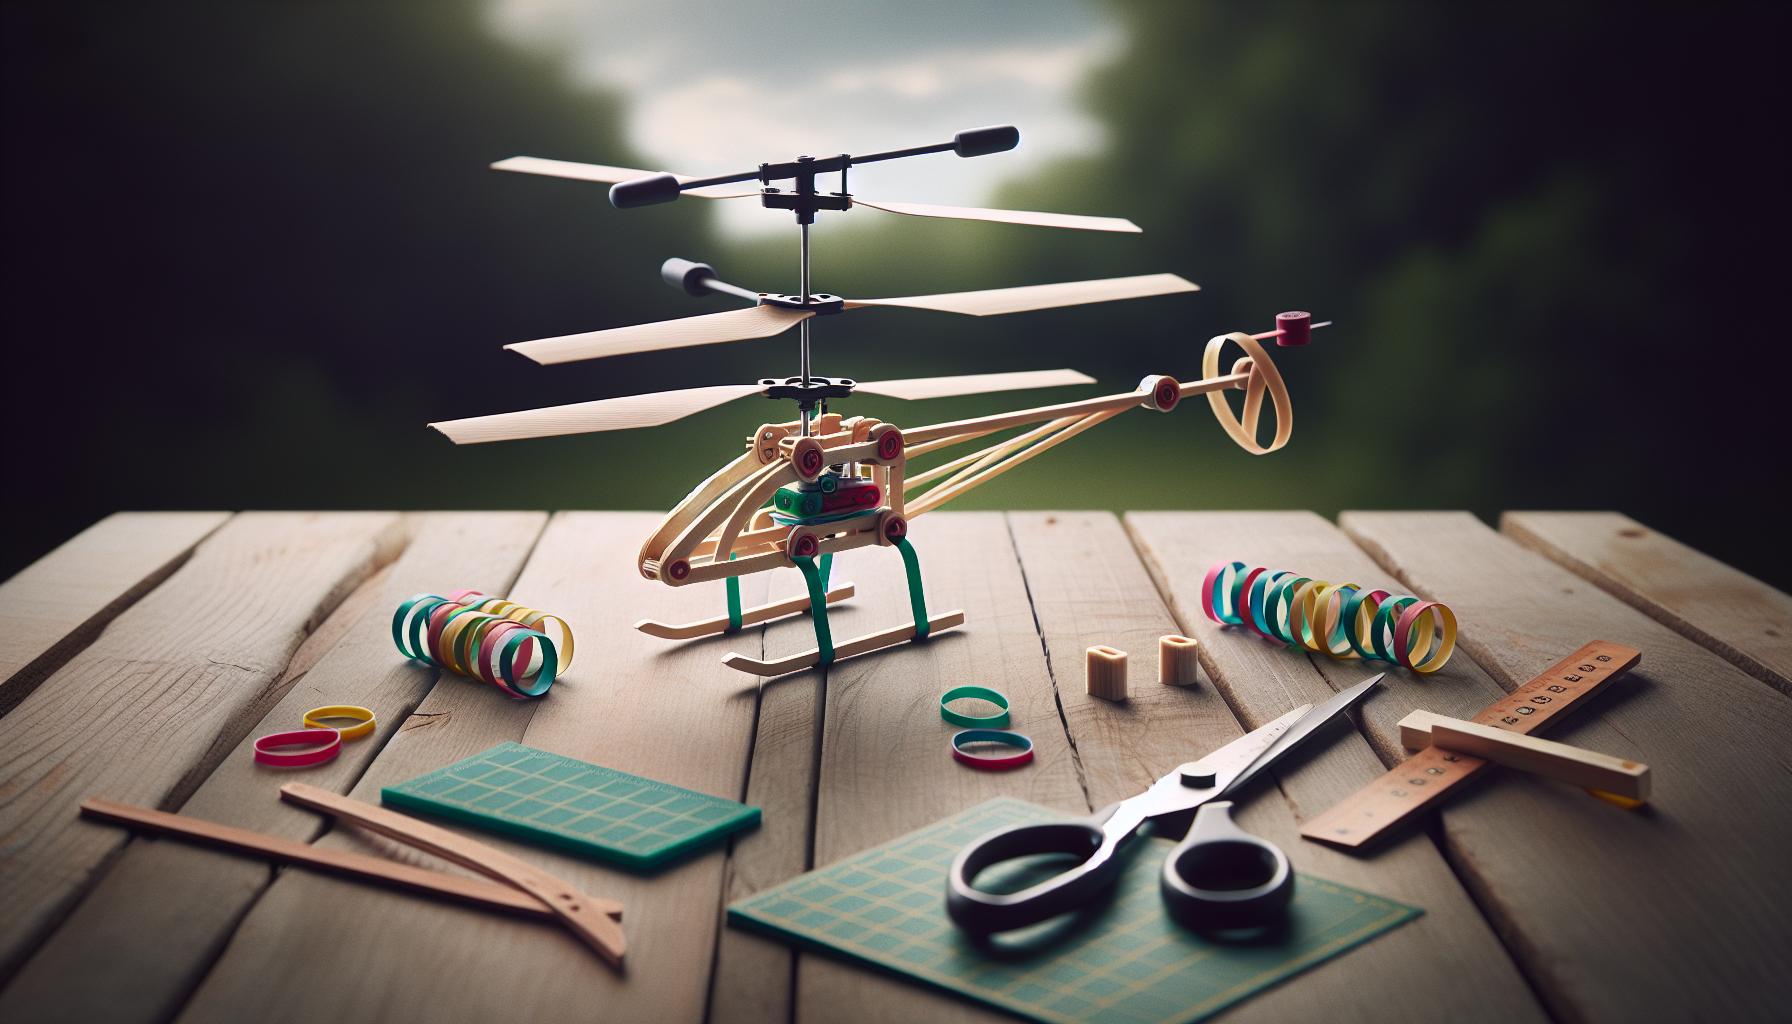
Essential Materials for Your Rubber Band Helicopter
Creating a rubber band helicopter is not just a simple craft project; it combines physics with hands-on engineering, allowing you to experience flight dynamics firsthand. To build your own helicopter, you’ll need a collection of essential materials that are both accessible and convenient to find. These components will allow you to construct a helicopter that can soar with impressive agility.
Essential Components:
- Balsa Wood Sticks: Lightweight yet sturdy, balsa wood is ideal for making the frame of your helicopter. Four sticks, each about 20 cm long, will form the primary structure.
- Propeller Blades: You will need two balsa wood circles (approximately 1.5 cm in diameter) or pre-made propeller blades. The design and balance of the blades are crucial for generating lift.
- Rubber Bands: The source of energy for your helicopter’s flight. A strong but flexible rubber band will store the elastic potential energy necessary for powered ascent.
- Adhesives: A strong glue (like wood glue) is essential for securing all components together. Ensure everything is tightly bonded to withstand flight stresses.
- Cardstock or Paper: This can be used for creating additional aerodynamic components or even customizing the design & aesthetics of your helicopter.
- Craft Sticks: These can be used to reinforce the structure or modify the design for enhanced performance. They will add to the overall stability of the model.
- Scissors and a Craft Knife: Necessary for cutting wood and cardstock to the desired lengths and shapes.
- Measurement Tools: A ruler or tape measure will ensure precise cuts and alignments for a better flight experience.
Once you gather these materials, you’ll be ready to embark on an exciting journey of discovery. The beauty of building a rubber band helicopter lies in its simplicity and versatility. You can tweak and modify your design based on the flight characteristics you observe, allowing for an engaging learning experience. Whether you’re a curious hobbyist or an aspiring engineer, each flight can teach you more about the balance between design and functionality.
Step-by-Step Guide to Building a Rubber Band Helicopter
Building your own rubber band helicopter can be an exciting and educational project that merges creativity with science. The process not only introduces fundamental engineering concepts but also provides insight into aerodynamics and the principles of flight. Let’s dive into the specific steps you need to follow to create your very own rubber band helicopter, which is sure to impress friends and family alike.
Start by gathering your materials. You will need four balsa wood sticks of approximately 20 cm each, two balsa wood circles (about 1.5 cm in diameter) for your propellers, a strong rubber band, wood glue, and some scissors. A ruler will also come in handy for measuring and ensuring precision in your cuts.
Next, construct the frame. Use two balsa wood sticks as the main body and glue the other two sticks across them to form a cross shape. This structure will provide stability for your helicopter. Once the glue has dried, take the balsa wood circles and attach them to the ends of each stick, ensuring they are evenly spaced and balanced. This is critical for optimal flight, as misaligned props can cause the helicopter to spin or flip during takeoff.
After the frame is assembled, it’s time to add the rubber band. Secure one end of the rubber band to the end of the main body by wrapping it several times to create a firm hold. Then, stretch the rubber band to the other end of the body and make sure to attach it securely. The tension in the rubber band will act as the power source for your helicopter, so ensure it is tight enough to provide sufficient energy when released.
For the launch, hold the helicopter upright with the rubber band stretched back. Releasing it will let the energy stored in the rubber band propel the helicopter into the air. To achieve the best results, experiment with different amounts of tension on the rubber band and test flight angles. You can also modify your design by changing the length of the sticks or the shape of the propellers to see how these variations affect performance and flight distance.
By following these steps and taking the time to connect theory with hands-on building, you’ll not only create a fun toy but also deepen your understanding of flight mechanics. Enjoy the process, embrace any challenges along the way, and let your imagination guide your helicopter modifications!
Tips for Optimal Rubber Band Tension and Performance
To maximize the performance of your rubber band helicopter toy, understanding the tension in the rubber band is crucial. The amount of tension directly correlates with the energy stored in the elastics, which ultimately translates into flight height and duration. A common mistake is to either under-stretch or over-stretch the rubber band, leading to suboptimal take-offs. Finding the sweet spot requires a bit of trial and error, but there are some key strategies to help you refine your technique.
Begin by adjusting the tension gradually. If you’re using a standard rubber band, aim for a stretch that allows you to wind the band around the rotor at least 4-6 times. This amount balances potential energy storage without risking the band snapping. A well-wound rubber band enables the energy to release smoothly, propelling your helicopter skyward with the right velocity. If your helicopter spins excessively or does not achieve altitude, it might be a sign of misaligned rotors or uneven tension on the rubber band itself.
Experiment with Launch Angles
Don’t underestimate the importance of launch angles. The trajectory at which you release your helicopter can drastically impact its flight behavior. Experiment with different launch angles between 30 to 60 degrees. A steeper angle generally increases height but may shorten the flight duration. In contrast, a lower angle promotes longer flight times but might not reach impressive heights. Take note of how adjustments in tension and angle work in unison to affect your helicopter’s flight.
Monitor Environmental Factors
Wind and air pressure can also play significant roles in the performance of your rubber band helicopter. Conduct your tests indoors where conditions are stable, if possible, as even gentle breezes can alter flight paths. If you’re outside, consider the direction of the wind and launch towards the wind to help your helicopter gain lift. Remember, small tweaks in environmental factors can lead to significant changes in performance.
With these tips, you can enhance your understanding of rubber band dynamics while maximizing your helicopter’s performance. Taking the time to practice with different rubber bands, adjusting tension, and refining launch techniques not only improves your chances of success but makes the entire building and flying experience more rewarding. Have fun experimenting, and soon you’ll be flying your homemade helicopter like a pro!
Creative Designs: Customizing Your Helicopter Toy
Creating a unique rubber band helicopter is not only a fun DIY project but also an exciting opportunity to unleash your creativity. One of the best parts of building your helicopter is personalizing it to reflect your style or interests. From colorful designs to innovative shapes, customization can enhance functionality and make your flying toy truly one-of-a-kind.
Start by experimenting with different materials for the rotor and body of your helicopter. Consider using vibrant colored paper, lightweight cardboard, or even biodegradable materials for an eco-friendly twist. Adding decorations such as markers, stickers, or paint can make your helicopter visually appealing. For a fun theme, you could transform your helicopter into a fire truck, a police copter, or even a mini spaceship by modifying the shape of the rotor or attaching creative elements like wings or antennas.
Performance Enhancements
Beyond visual appeal, think about functional modifications that can boost your helicopter’s performance. Adjusting the weight distribution is essential; for example, adding small paperclip weights to the lower part of the body can help with stability during flight. Experimenting with rotor designs can also yield interesting results-longer or wider rotors might catch more air, enabling longer flight times. Remember, the design of the rotor plays a significant role in how well your helicopter will ascend and glide.
Sharing and Learning
Involve friends or family in your crafting session for an interactive experience. Create a mini-competition to see whose design flies the highest or longest. This not only fosters team spirit but also sparks discussions around aerodynamics and flight mechanics. Document your builds and outcomes; tracking what works and what doesn’t will provide valuable insights for future projects.
Customization isn’t just about aesthetics; it’s about learning and growth through creativity. Each modification offers a lesson in physics and engineering principles, making your rubber band helicopter project both educational and entertaining. So gather your materials, let your imagination soar, and enjoy every moment of your helicopter building adventure!
Troubleshooting Common Issues in Rubber Band Helicopters
Building and flying a rubber band helicopter can be an incredibly rewarding experience, but it’s not uncommon to run into a few hiccups along the way. Understanding common issues and their solutions can enhance both your enjoyment and the performance of your helicopter. The primary reasons for flight failures often relate to the design, assembly, or operation of your helicopter.
One frequent problem is insufficient or excessive tension in the rubber band. If the rubber band is not wound tightly enough, the helicopter may not generate adequate lift, resulting in a short flight or no flight at all. Conversely, if wound too tightly, it can lead to a quick and uncontrolled descent or even breakage of the rubber band. Finding the right balance is key; engage in a bit of trial and error to determine the ideal tension for your specific design.
Another common issue arises from misalignments in the rotor and body. Ensuring that the rotor blades are securely attached and properly aligned is crucial for stable flight. If the rotor is tilted or uneven, it can cause the helicopter to spin erratically or fly in circles instead of ascending straight. Take time to align the blades symmetrically and check that the attachment points are sturdy.
Additionally, weight distribution plays a critical role in flight performance. If the helicopter is too heavy on one side or overall, it can negatively impact its ability to soar. Consider utilizing small weights like paperclips for fine-tuning the balance; shifting these to different locations may enhance stability. Similarly, the materials used-while exciting for customization-should not add unnecessary weight.
Finally, environmental factors can affect your helicopter’s flight. Flying indoors in a controlled space free of drafts or obstructions can lead to better results than outdoor attempts which may be hindered by wind. In the end, experimenting with different designs and configurations will not only help you troubleshoot issues but also spark a deeper understanding of aerodynamics and engineering principles. With patience and practice, your rubber band helicopter will soon soar!
Fun Variations and Advanced Features to Explore
Building a rubber band helicopter not only sparks creativity but also offers a fantastic opportunity for experimentation and engineering exploration. Engaging with variations and advanced features can elevate your project, allowing you to tailor your helicopter to your preferences and enhance its performance. For instance, consider modifying the design of your rotor blades. By adjusting the shape and size of these blades, you can drastically affect lift and flight duration. Wider blades might catch more air but could also add weight, while thinner blades can reduce drag, promoting a faster descent.
Incorporating sleek materials can further enhance functionality. Lightweight materials such as balsa wood, cardstock, or even plastic can reduce overall weight while maintaining structural integrity. You might also explore adding a counterweight at the bottom of the helicopter to stabilize flight. This small adjustment can help improve the helicopter’s balance and provide a smoother glide pattern.
For those ready to dive deeper into the science of flight, try incorporating variable pitch rotors. By designing and constructing blades that can adjust their angle during flight, you can experiment with different flight paths and durations. This concept, a staple in larger helicopter designs, introduces essential aeronautical principles, providing hands-on experience in physics and engineering.
Lastly, challenge yourself with themed designs that reflect pop culture or personal interests. Whether transforming your helicopter into a superhero’s aircraft or designing it using vibrant paints and stickers, the possibilities are endless. These creative designs not only personalize your project but could also motivate others to explore the world of aviation building and design. With a playful mindset and an eagerness to experiment, you can transform your rubber band helicopter into a captivating exploration of creativity, design, and scientific principles.
Safety Tips for Using Rubber Band Helicopters
Using a rubber band helicopter can be an exhilarating experience, offering both fun and a great learning opportunity. However, to ensure a safe and enjoyable flight, it’s essential to follow some key safety guidelines. Rubber bands, while great for creating tension and lift, can snap unexpectedly, causing potential harm. Always wear eye protection when launching your helicopter, as a snapped rubber band can fly back towards your face or eyes.
When preparing to launch, it’s crucial to inspect your rubber band and helicopter components. Make sure the rubber band is not worn out or showing signs of damage; if it looks frayed or overstretched, replace it before use. Before launching, be mindful of your surroundings. A clear, open area is ideal, free from obstacles such as trees, power lines, or people. This minimizes the risk of your helicopter getting stuck or hitting someone.
It’s also advisable to fly your helicopter in the presence of an adult, especially for younger enthusiasts. Adults can help monitor the activity and ensure safety standards are respected. Additionally, when winding up the rubber band, keep tension at a manageable level. Overwinding can lead to the band snapping, which not only ends your flight experience prematurely but can also pose safety risks.
In summary, the key safety tips when using rubber band helicopters include:
- Always wear eye protection.
- Inspect the rubber band for wear before each flight.
- Launch in a clear area free of obstacles and people.
- Have an adult supervise and assist, especially for children.
- Manage rubber band tension carefully to avoid snapping.
By following these guidelines, you can enjoy your rubber band helicopter safely while exploring the fascinating principles of flight. Embrace the joy of flight while respecting the necessary precautions!
Engaging Activities: Games and Challenges with Helicopters
Looking for a way to make your rubber band helicopter experience even more exciting? Engaging activities can transform simple flights into thrilling challenges that spark creativity and teach valuable lessons about physics and teamwork. Here are some ideas to elevate your helicopter fun!
To start, consider incorporating friendly competitions into your helicopter launches. Set up a race course in your yard or an open area, and see whose helicopter can fly the longest distance or stay aloft the longest. You can measure the flight times, distances, and even incorporate obstacles for added challenges. Keep track of the scores, and reward participants with fun prizes, like stickers or DIY helicopter kits.
Another engaging activity is to encourage design challenges. Participants can customize their helicopters to see how adjustments affect flight performance. For example, after building a basic model, they can try adding weight at different points or changing the size and shape of the propellers. Documenting these design adjustments and their effects on flight can lead to discussions about aerodynamics and engineering principles.
Furthermore, why not integrate science experiments into your play? Create versions of the helicopter using different materials or rubber bands of varying sizes. Each person can hypothesize which design will achieve the best flight and conduct tests to see whose predictions were correct. This scientific approach promotes critical thinking and offers a hands-on way to explore concepts such as lift, gravity, and propulsion.
Lastly, combine your helicopter launches with team-building exercises. Divide participants into small groups, where each team must collaborate to create a unique helicopter design. Teams can present their designs, detailing their thought process and strategies used to optimize flight. This not only builds camaraderie but also fosters skills in communication and creative problem-solving.
Engaging in these activities not only amplifies the fun but also imbues your launching sessions with educational value, ensuring that participants come away with new insights about flight, physics, and collaboration!
The History of Rubber Band Helicopter Toys
Rubber band helicopter toys have a rich history rooted in innovation and simple engineering principles that captivate enthusiasts of all ages. The origins of these delightful flying devices can be traced back to the late 19th century, where early pioneers like Alphonse Penaud experimented with rubber-band-powered flying machines. In the 1870s, Penaud created one of the first known rubber band helicopters, stabilizing it with counter-rotating propellers, an ingenious design that allowed for controlled flight. His work laid the groundwork for future inventors and hobbyists, demonstrating the potential of elastic power in aerodynamics [[1]].
Fast forward to the early 20th century, and the Wright brothers, Wilbur and Orville, also tapped into the power of rubber bands in their childhood experiments. They crafted miniature helicopters based on a toy they received from their father, which used similar principles and sparked their lifelong fascination with flight. These formative experiences paved the way for their monumental contributions to aviation, showcasing how simple toys can inspire groundbreaking innovations [[2]].
Today, rubber band helicopters remain popular not only as toys but also as educational tools that teach essential concepts in physics, engineering, and design. Constructing and launching these helicopters allows children and adults alike to engage in hands-on learning experiences that illustrate principles like lift, gravity, and aerodynamics. The simple mechanics of winding a rubber band and watching the resulting flight create an exhilarating moment that resonates with both young creators and curious adults.
In addition to their educational value, rubber band helicopters have found a place in popular culture and DIY projects, inspiring enthusiasts to create custom designs and participate in competitions. Each individual helicopter embodies a unique set of adjustments and innovations, reflecting the creativity and ingenuity of its builder. By exploring the history and development of these toys, one can appreciate the profound impact they have had on nurturing a love for aviation and engineering in countless enthusiasts.
Frequently Asked Questions About Rubber Band Helicopters
Curiosity often leads to questions, especially when exploring the fascinating world of rubber band helicopters. Understanding the mechanics behind their flight can deepen the experience of building and launching these delightful devices. Here are some common inquiries and insightful answers to enhance your knowledge and enjoyment.
How does a rubber band helicopter fly?
Rubber band helicopters operate on the principles of mechanical energy conversion. When you twist the rubber band, it stores potential energy. Upon release, this energy is transformed into kinetic energy, causing the rotor blades to spin. The unique design, often incorporating a paper cutout, creates lift as the blades rotate, allowing the helicopter to ascend.
What materials do I need to build a rubber band helicopter?
To create a simple rubber band helicopter, you’ll need:
- A rubber band
- A lightweight propeller (often made from paper or plastic)
- A craft stick or wooden dowel
- A paper clip
- Scissors
- Tape or glue
These materials are easily accessible, making it a perfect DIY project for kids and beginners.
How can I improve the performance of my rubber band helicopter?
Performance can significantly improve with some adjustments:
- Tension Adjustment: Ensure the rubber band is adequately wound-too little tension results in weak flight, while too much can lead to breakage.
- Weight Distribution: Experiment with the placement of the paper clip or other weights. Balancing the helicopter correctly can enhance stability and flight time.
- Blade Design: Try different shapes and sizes of the rotor blades. Larger blades may catch more air, increasing lift.
What are some common issues and how can I troubleshoot them?
If your helicopter isn’t flying as expected, consider these troubleshooting tips:
- Inadequate Winding: Ensure the rubber band is wound tightly enough before launch.
- Obstructions: Check that nothing is blocking the rotor blades from spinning freely.
- Uneven Design: Confirm that all components are symmetrical; an uneven weight distribution can cause erratic flight.
Engaging with the mechanics of rubber band helicopters allows for an interactive learning experience, making it an enjoyable venture for hobbyists of all ages. Whether you’re a novice or an experienced enthusiast, remember to have fun experimenting with different designs and modifications!
Frequently asked questions
Q: How do you launch a rubber band helicopter effectively?
A: To launch a rubber band helicopter effectively, hold it vertically, wind the rubber band around the rotor shaft several times, then release it gently. Ensure a smooth launch by maintaining stability during release to avoid wobbling. For best results, test different launching angles and rubber band tensions.
Q: What factors affect the flight stability of a rubber band helicopter?
A: Factors affecting flight stability include weight distribution, rotor design, and launch technique. A well-balanced helicopter with evenly distributed weight over the rotor increases stability. Additionally, experimenting with rotor size and shape can contribute to smoother flights.
Q: How can I improve the flight time of my rubber band helicopter?
A: To improve your rubber band helicopter’s flight time, try optimizing the rubber band tension and adjusting the rotor angle. The more energy stored in the rubber band, the longer it will stay aloft. Fine-tuning the helicopter’s design and materials can also enhance performance.
Q: What materials are best for making rubber band helicopters?
A: Ideal materials include lightweight wood, plastic, or cardboard for the body, and a strong rubber band for propulsion. Using paper or lightweight balsa wood will help reduce weight, allowing for better flight performance. Refer to the Essential Materials for Your Rubber Band Helicopter section for more details.
Q: Why does rotor design matter in rubber band helicopters?
A: Rotor design is crucial as it affects lift and stability. A wider rotor can increase lift but may add weight. Conversely, a narrower rotor may decrease drag but could struggle with lift. Understanding your design’s aerodynamics can significantly enhance flight performance.
Q: Can the color of my rubber band helicopter affect its flight?
A: The color of the rubber band helicopter doesn’t directly influence its flight mechanics but may affect its visibility. Opt for bright colors to easily track flight paths. Visibility can enhance the experience during outdoor launches, making it easier to observe performance metrics.
Q: How do I troubleshoot a rubber band helicopter that won’t fly?
A: If your rubber band helicopter won’t fly, check for twisted or tangled rubber bands and ensure that all components are securely attached. Verify that the rotor blades are straight and properly aligned. Refer to the Troubleshooting Common Issues in Rubber Band Helicopters section for detailed solutions.
Q: What are some fun activities I can do with a rubber band helicopter?
A: Engage in activities like distance challenges, timing flights to see which design stays airborne longest, or experimenting with different launching techniques. You can create obstacle courses or combine flights with physics lessons for an educational twist. Explore the Engaging Activities section for more inspiring ideas.
Insights and Conclusions
Now that you know how to launch your rubber band helicopter, it’s time to put your skills into action! Building and launching these little flying machines not only demonstrates the power of basic physics but also sparks creativity and innovation. If you enjoyed this guide, check out our related articles on DIY STEM projects and tips for improving your helicopter design for even more fun and learning opportunities!
Don’t forget to share your experiences in the comments below and show us your rubber band helicopter creations-your feedback could inspire others in the community! For more exciting updates and guides, consider subscribing to our newsletter. Get ready to take flight and explore the world of aviation like never before!
Get our latest guides, news, and insights highlighted in your Google Search & AI Overviews.